In the life of every timber flooring installation, there comes a time when it starts asking for restoration even after timely care and maintenance. People think that this is easy to do and can be completed successfully through DIY and at the same time, a good amount of money would be saved too. This is a wrong notion completely and the wiser idea here is to get this thing done by the team that was involved in the installation of the floor.

However, there is nothing bad in knowing about the process of restoration that mainly involves sanding and polishing and this is what we have covered here in this blog post.
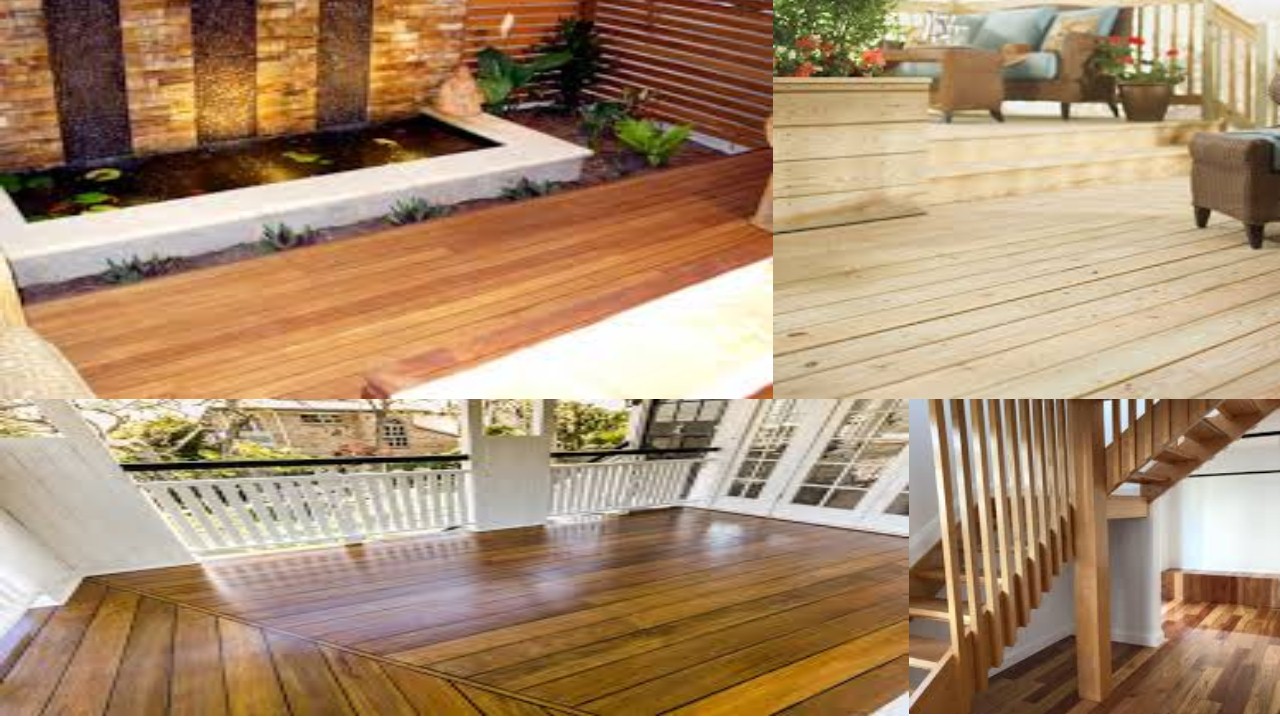
PREPARE THE ROOM
According to the vendors of timber floors, this might appear as a simple step, but the fact is that it is one of the most critical steps involved in the process. Careful preparation of the room would ensure that your polishing stays long lasting and also, this would prevent your family from any risk associated with these steps. You will have to move the entire furniture out of the room and then, remove the carpet too if it is installed. This would be followed by a quick inspection of loose boards or protruding nails and if there are some, they have to be managed because they may damage the sanding machine.
SAND THE FLOOR
As far as sanding the timber flooring is concerned, experts say that you will need two different kinds of sanding machines and the first would be a drum sander while the next one is the hand edge sander. Both are equally important because drum sander will sand timber flooring while the other one would be useful in sanding around the edges, corners, etc. For timber flooring Sydney sanding, you will also require sanding paper with the right grit and experts recommend starting with coarse sandpaper and then move on to the medium sand and finally, finish with the finer one. A common sequence for timber floors is 40-60-100.